


In this post I will share the importance of a blog category and how to set it up on Showit!
Adding categories to your Showit blog will help you organize your content and make it easier for your readers to find related content. It might not seem like a big deal to add categories when you first start your blog but overtime, trust me, you’ll be glad you added them! It’s like filing books in a library; you can go to certain sections and know you will find similar books. It’s the same thing with your blog category for your clients user experience!
You know you need a website for your business but you have no idea where to start?
Don’t worry, I got you!
Sign up below to download your FREE Website Content Roadmap to get started!
Why blog categories are important for website navigation and user experience
- They improves SEO by keeping visitors on your site longer
- Help your readers find related content
- Make it easy for your clients to find what they are looking for.
How do Blog Categories work in Showit (with the WordPress integration)
If you aren’t familiar with blogging on a Showit website; Showit connects to WordPress for blogging. This is really great because you get to keep your beautiful design from Showit and have the power of WordPress for your blog at the same time!
So basically, the only thing you are doing in WordPress is adding your blog content and categories (at least that’s all we’re focusing on in this post!). Then we apply settings and links within your Showit design app to connect the two.
How to link blog categories on Showit; a step by step guide
- Add categories through a WordPress blog post
- Assign the relevant category to each post as you publish
- Add all category titles on your Showit website (these can be links or buttons depending on your style preference)
- Go back in WordPress and copy the category title exactly how you added
- Add link in Showit
- Be sure to publish to make the changes live on your website!
Now let me show you with pictures!
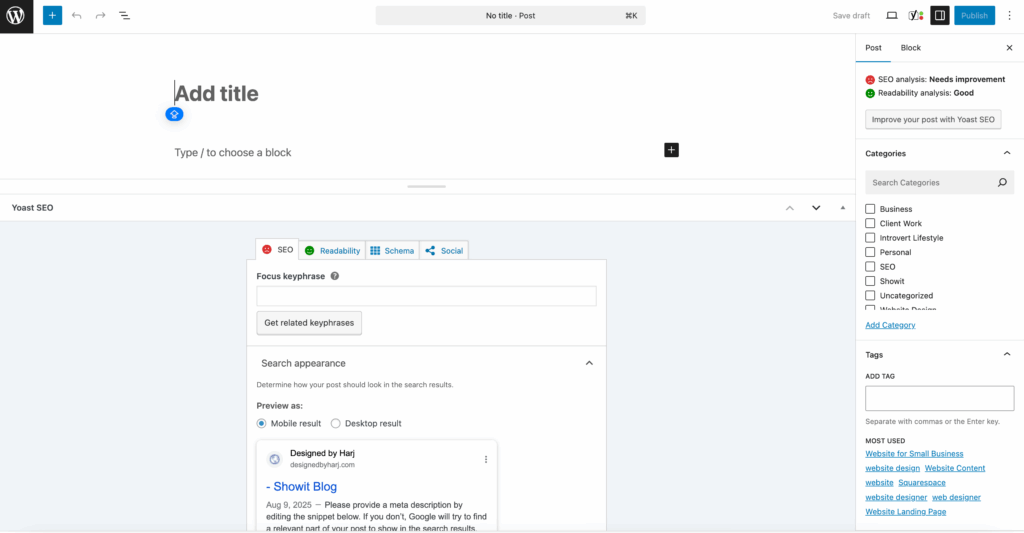
Step one: Add categories through a WordPress blog post
Log in to your WordPress account and go to add a new post. When you add a new post you will see the post settings on the right hand side. If you scroll down you will see the option to add a category.
You can see a bunch of categories added here on my account already but if you don’t have any you will be starting from scratch!
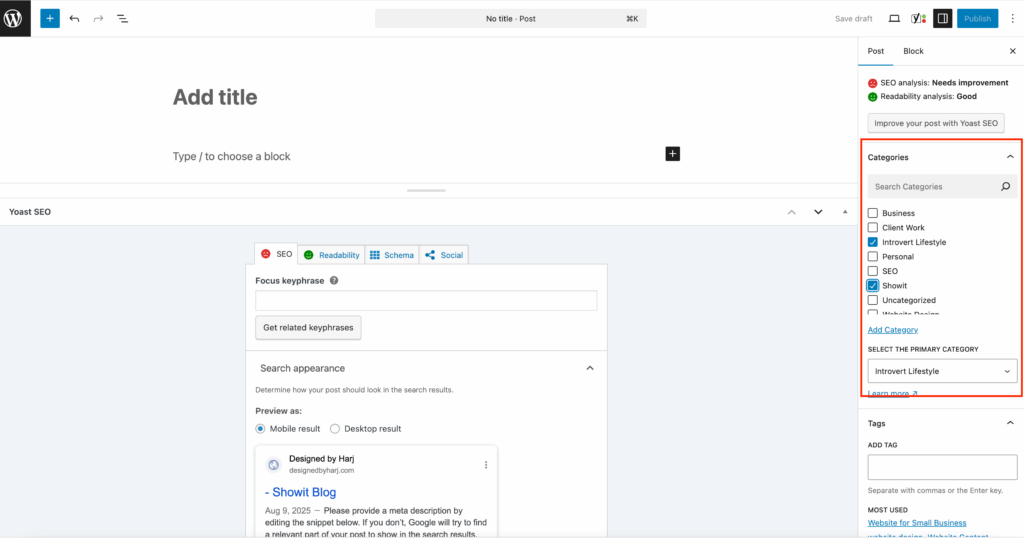
Step two: Assign the relevant category to each post as you publish
Once you have added your categories; simply select the one you want to choose. You can add more than one category if you choose to. When you do that you will see an option to select a Primary category. This is a great option if you have your category links on your main blog page but you only want to show one and not all of them. You can choose to show just one but have the post appear in multiple categories when readers are browsing!
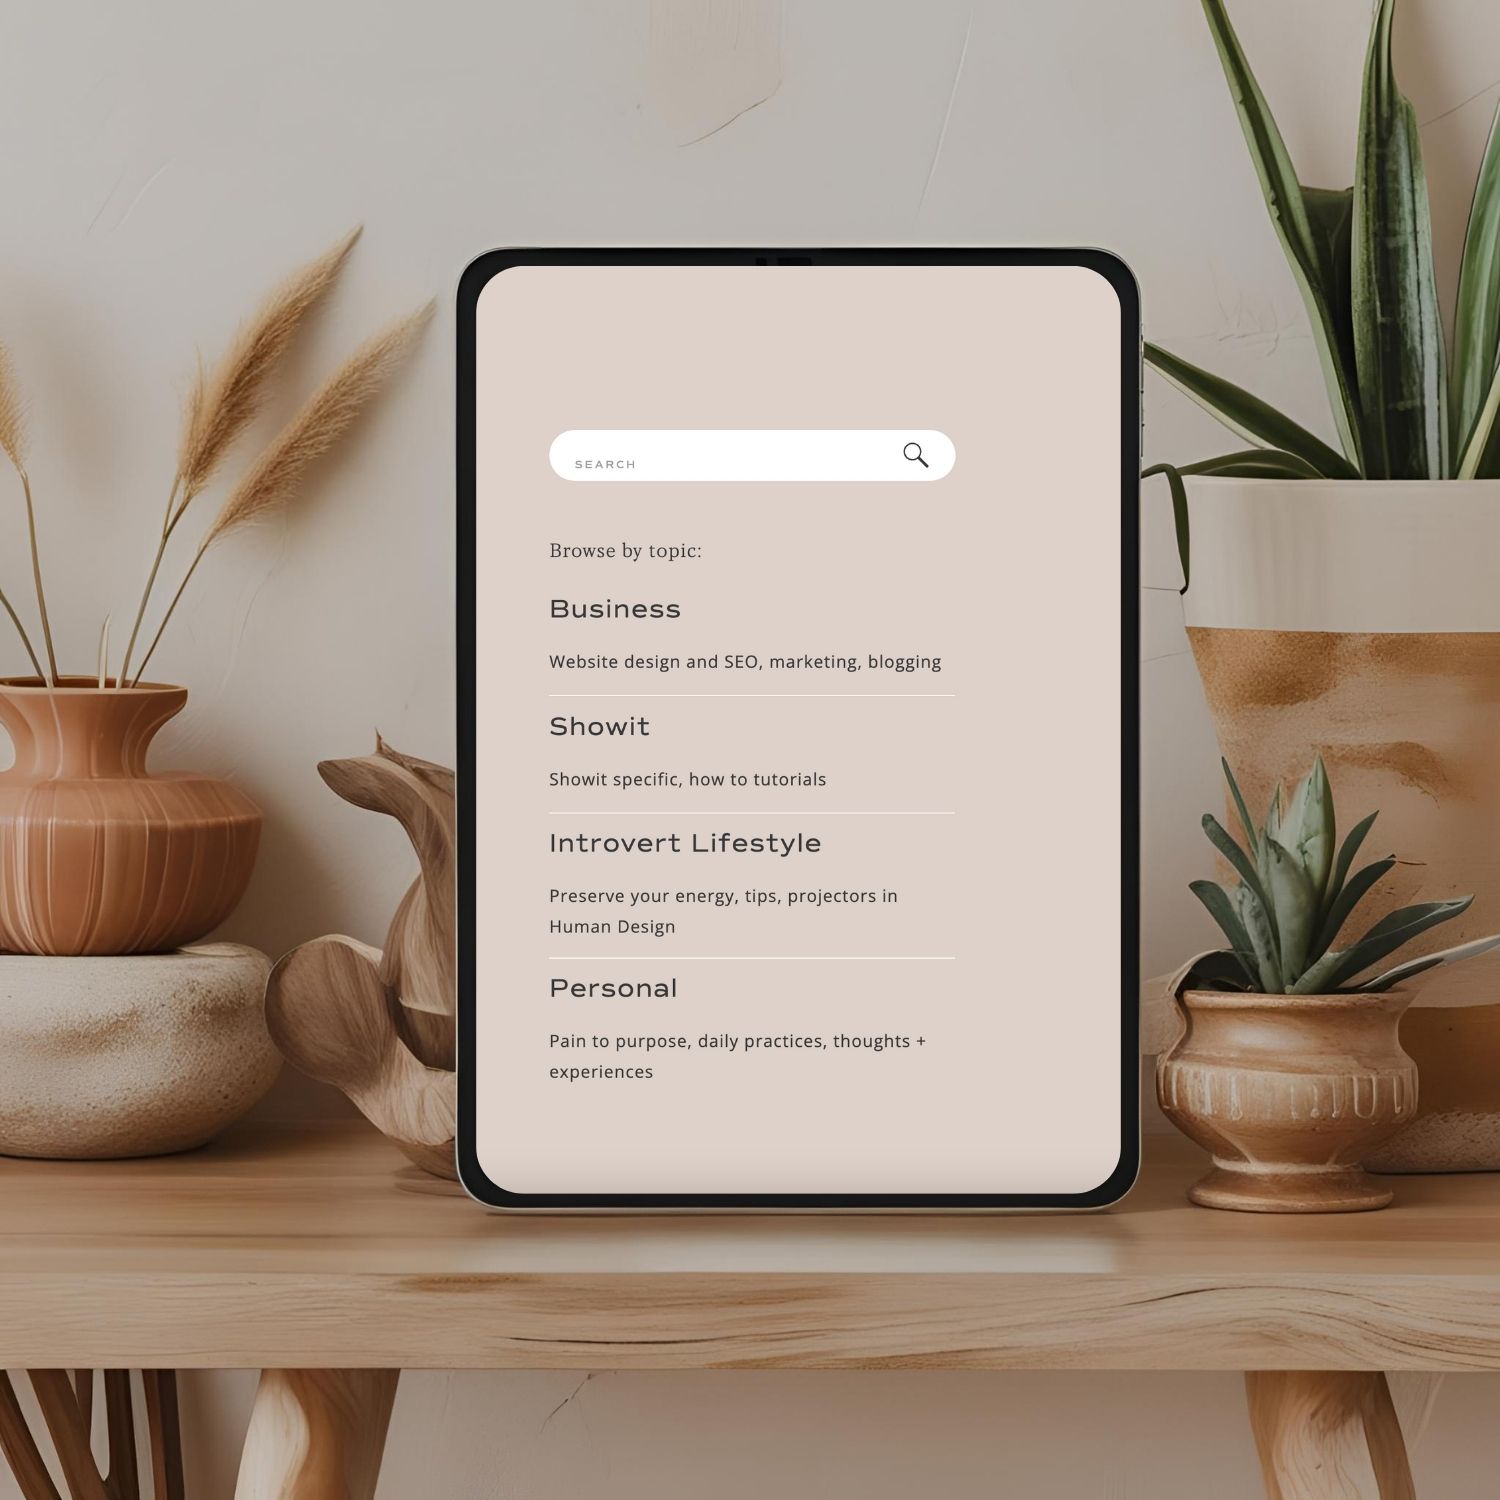
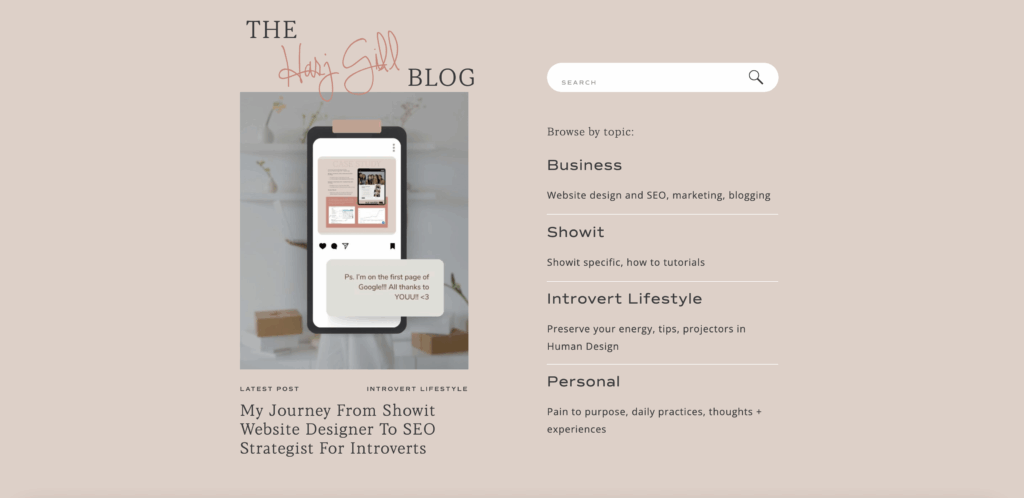
Step three: Add all category titles on your Showit website (these can be links or buttons depending on your style preference)
You can see I have all of my categories listed on my blog. How you choose to add them is completely up to you based on design preference! You can add them as a link or as a button.
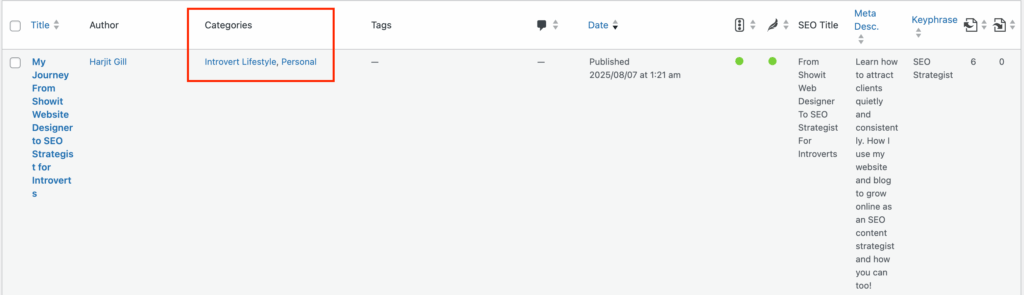
Step four: Go back in WordPress and copy the category title exactly how you added
If you log into WordPress and go to Posts from the left hand menu bar; you will see all of your blog posts listed out. Next to the title of each you will see the category. You can simply copy this from here. Or you don’t even have to copy it, you can just type it out but I’m paranoid and so I copy it…
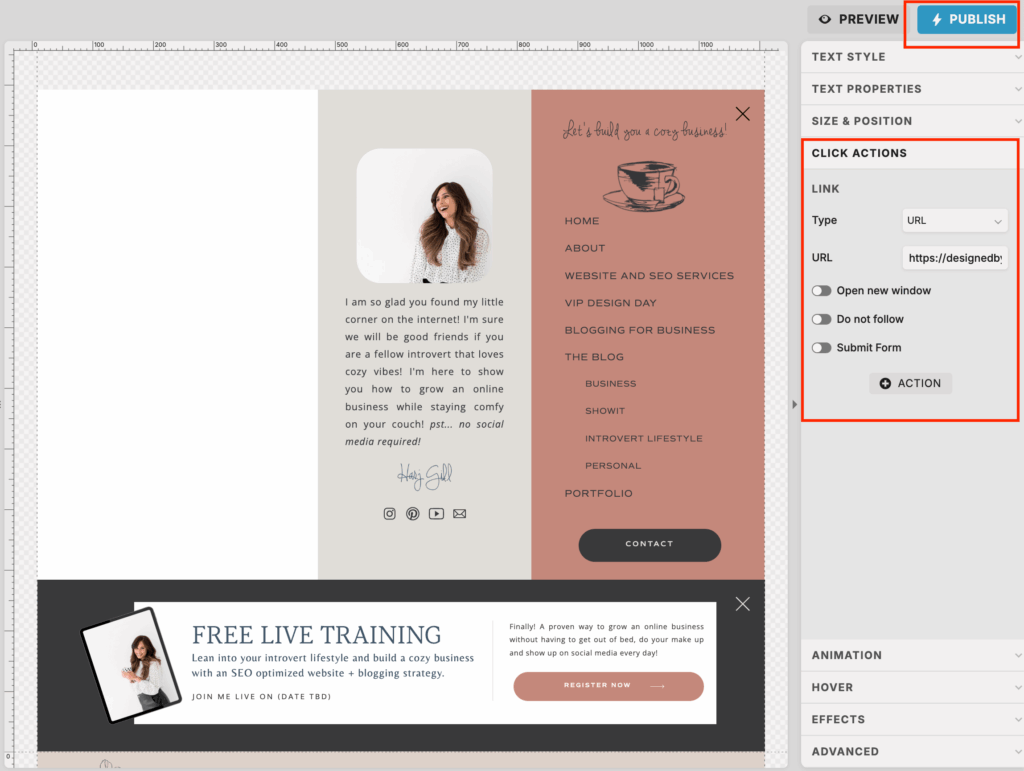
Step five: Add link in Showit
Go back in Showit and follow these steps:
- Select the link/button where you want to add the category link
- Select Click Actions
- Select URL for link type dropdown
- Here you want to paste in your domain / category / your category name.
- Here’s an example: https://designedbyharj.com/category/Business
Be sure to have https:// at the beginning of your domain. Make sure you add the / and the word category followed by another / and then your category name.
Step six: Be sure to publish to make the changes live on your website!
You’ll also love…
Showit Website Templates for Coaches (That You Can Launch in a Day!)
How to Use SEO Header Tags Correctly on Your Showit Website
Showit SEO: How to Add SEO to Your Showit Website the Right Way
Top 3 Questions Clients Ask Me As A Showit Web Designer (And My Honest Answers)
What Is Showit? And Why It’s The Perfect Website Builder for Digital Entrepreneurs
