


Adding transition effects to your website is an easy way to make your website stand out!
It adds animation and movement to the design you have already created. And the best part? You can easily do this through the native design capabilities available in Showit. Meaning, you don’t need to learn or use code. Another reason I absolutely love Showit!
There are a million best parts to designing on Showit, but if I had to stick to one for this blog post, it would be this: You can add a transition effect to literally every single element on your website. I’m aware that that could look absolutely outrageous. The point though, is that you can do it if you want to, and that’s pretty cool!
So without any further ado, let’s get into the steps to add transition effects on your website!

You know you need a website for your business but you have no idea where to start?
Don’t worry, I got you!
Sign up below to download your FREE Website Content Roadmap to get started!
How to add transition effects to any element
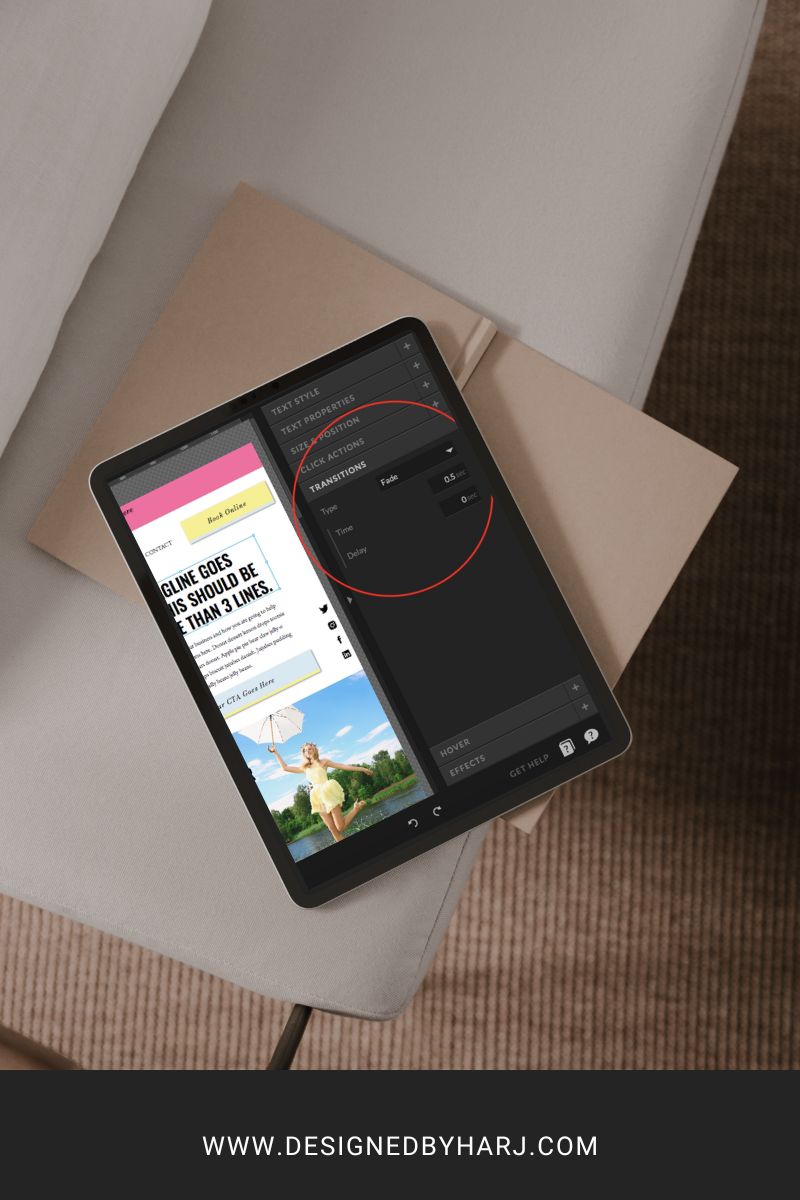
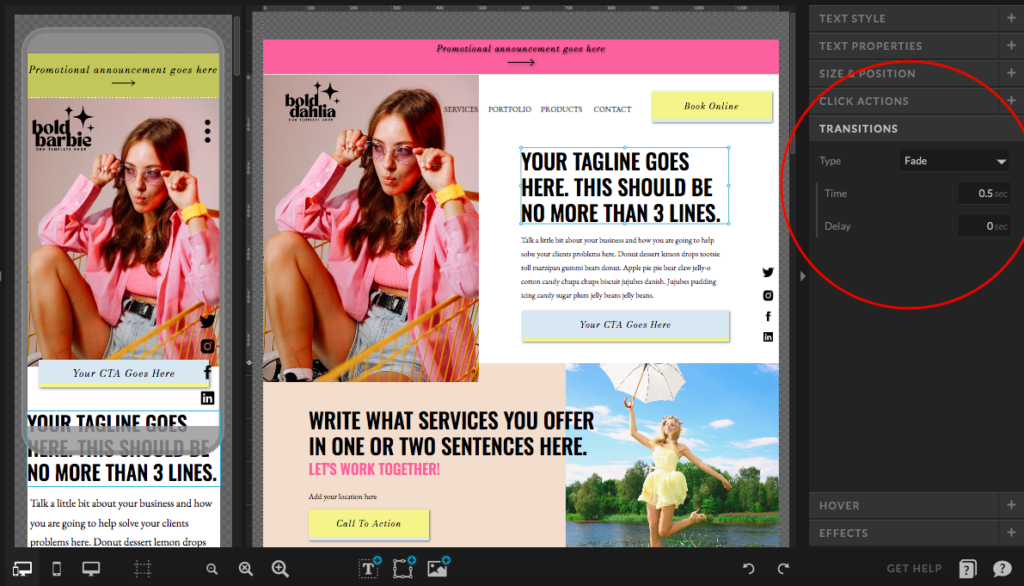
Select the element you want to add the transition to and you will see the Transitions tab on the right hand side. When you select that tab you will see the transition options available.
Split or merge mobile and desktop
This is going to make your life so much easier! You can either add your transition to your desktop and mobile versions at the same time OR separate this feature to add them independently of one another.
You might want to have different effects on mobile and desktop depending on the design layout on each. For example, it might look good to slide something in from the left on desktop but from the right on mobile. Or have a different type of transition altogether, like a fade on desktop and a slide in effect on mobile.
I like to keep this feature connected so it’s adding the same transition to both. Then when I’m finished designing that canvas I will view it on mobile and split the effect on a specific element if needed.
Here you can see how you can connect or disconnect this editing option.
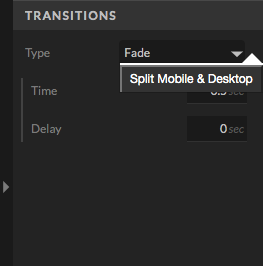
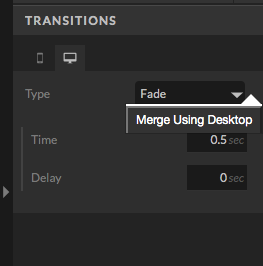
To see the split/merge option hover next to Fade (the transition type) three little dots will appear and when you select those you will see these merge options.
Select transition type
You can select the type of transition style you want to apply to that specific element. Select the Type drop down and you can choose from the following options:
- Fade
- Slide
- Bounce
- Rotate
- Zoom
- Flip
- Roll
- Light Speed
Once you have picked your transition type you can really make it your own by setting the timing options.
The following transitiont types will only allow you to set Time and Delay.
- Fade
- Roll
- Light Speed
Time is the amount of time it takes for that element to show up on the page.
Delay will be the wait time before the element starts to show on the page.
For example, if something is fading in and you set it to 2 seconds, it will take 2 seconds for it to fade in. And if you set a delay time for 1 second, there will be a 1 second delay before the fade transition starts to set in. This can be really helpful if you want elements to appear at different times.
For the rest of the transition types you will see an additional option From. This is to select the direction the effect comes in from.
Be sure to preview both mobile and desktop and make sure you like the way the transitions are coming on to the page. Play around with the timing and delay settings to really make it your own! I would avoid using too many different types of transitions on your website because it can look messy. I usually stick with the Fade and Slide options! But try them out and see what you prefer and what works best for that specific websites vibe.

You’ll also love…
How to add Instagram Feed to Showit Website
The Importance of Alignment in Your Website and Branding
How to Make a Testimonial Slider on Showit
How to add Image Hover Effects on Showit
Blogging for your business: How to use SEO to grow your business
